I find the best solution to creating complex scripts in ConnectWise Automate, is to avoid the in-built features as much as possible and rely as much as you can on writing text files to the computer; then having the computer run those text files as PowerShell scripts natively, (You want to avoid the built-in Automate PowerShell too).
So how do we do this?
The first step is to develop your PowerShell script (You should do this in your own testing environment and away from Automate), it will take you considerably longer to find issues in your code when trying to execute a script on Automate.
Once your PowerShell code is developed and fully tested, you should create your Automate script, so that it writes your PowerShell script as a text file (with the .ps1 extension) to the computer. I find writing to ‘C:\Windows\temp’ to the be the best location –
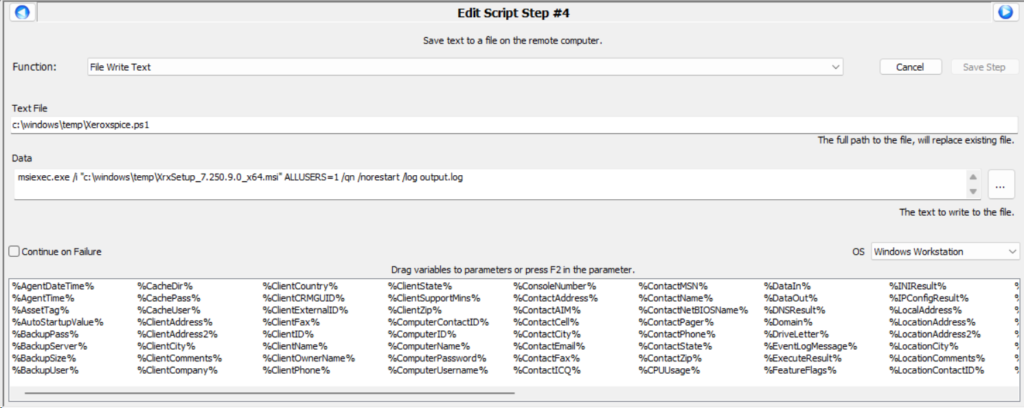
Now you’ve got the script file written to the PC, you need to call the script and get it to execute on the PC, so the next step is executing the script file you’ve just written:
Thats it! it’s really that simple, so if you’ve had issues with running PowerShell on ConnectWise Automate endpoints, try this, it should resolve all your problems!
Remember, it is really important to debug your PowerShell code before involving Automate in the process, this will save you hours.
Great idea! never thought of doing it this way.
When running the PowerShell script locally, it works fine. However, when running it on a specific system, it executes successfully but does not apply any changes. Can you please tell me how to run with root or highest privilege of connectwise automate.
Hello Dinesh, its hard to say in this case, sorry I can’t be of more help!